Read Slides Ch 5-7. Read Review Ppt Ch 4-7.
Lesson 29: Slide Principal View
/en/powerpoint/modifying-themes/content/
Introduction
You may accept noticed that when you select a different theme in PowerPoint, it rearranges the text on your slides and adds shapes to the background. This is considering each theme has congenital-in slide layouts and background graphics. Y'all can edit these layouts with a characteristic called Slide Master view. In one case you learn how to employ Slide Principal view, you'll be able to customize your entire slide show with just a few clicks.
Optional: Download our exercise presentation.
Lookout man the video below to learn more near using Slide Main view.
What is Slide Master view?
Slide Chief view is a special feature in PowerPoint that allows you to quickly modify the slides and slide layouts in your presentation. From here, you tin can edit the slide chief, which volition bear upon every slide in the presentation. You lot can besides modify individual slide layouts, which will change any slides using those layouts.
For example, allow'due south say y'all find a theme you like but yous don't like a few of the slide layouts. You could utilise Slide Main view to customize the layouts to look exactly the way yous want.
In Slide Principal view, the Slide Master tab will announced offset on the Ribbon, but yous'll however exist able to access commands on unlike tabs as you unremarkably would.
Using Slide Chief view
Whether you're making significant changes to your slides or just a few small tweaks, Slide Master view can help you lot create a consistent, professional person presentation without a lot of effort. Y'all could use Slide Master view to modify merely about annihilation in your presentation, but here are some of its most common uses.
- Modify backgrounds: Slide Primary view makes it easy to customize the background for all of your slides at the same fourth dimension. For example, you lot could add a watermark or logo to each slide in your presentation, or you could change the background graphics of an existing PowerPoint theme.
- Rearrange placeholders: If you find that you often rearrange the placeholders on each slide, you can save fourth dimension by rearranging them in Slide Master view instead. When you arrange one of the layouts in Slide Master view, all of the slides with that layout will change.
- Customize text formatting: Instead of changing the text color on each slide individually, yous could use the Slide Main to change the text color on all slides at once.
- Create unique slide layouts: If you desire to create a presentation that looks unlike from regular PowerPoint themes, you lot could utilize Slide Master view to create your own layouts. Custom layouts can include your own background graphics and placeholders.
Some overall presentation changes—like customizing the theme fonts and theme colors—can exist fabricated quickly from the Design tab. Review our lesson on Modifying Themes to larn more.
To make changes to all slides:
If you lot want to change something on all slides of your presentation, you tin edit the Slide Master. In our example, nosotros'll add a logo to every slide. If you'd similar to work along with our example, right-click the image below and relieve information technology to your computer.
![]()
- Select the View tab, then click the Slide Master command.
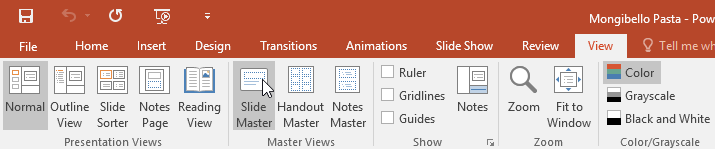
- The presentation will switch to Slide Master view, and the Slide Principal tab will exist selected on the Ribbon.
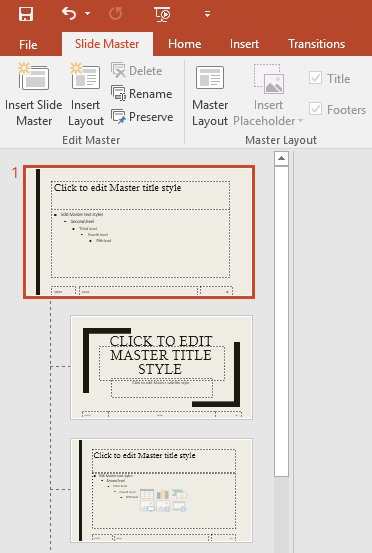
- In the left navigation pane, scroll upwards and select the starting time slide. This is the slide master.
- Brand the desired changes to the slide master. In our example, we'll insert a picture of the Mongibello logo.
- Move, resize, or delete slide objects as needed. In our example, nosotros'll resize the logo and move it to the bottom-correct corner.
- When yous're finished, click the Close Master View control on the Slide Primary tab.

- The change will announced on all slides of the presentation.
When you make a alter to the slide master, it's a skillful idea to review your presentation to run across how information technology affects each slide. You may find that some of your slides don't look exactly correct. Nosotros'll show y'all how to fix this by customizing individual slide layouts.
Customizing slide layouts
Y'all tin can use Slide Chief view to alter any slide layout in your presentation. It's easy to make small tweaks like adjusting background graphics and more significant changes like rearranging or deleting placeholders. Unlike the slide principal, changes to a slide layout volition only be applied to slides using that layout in your presentation.
To customize an existing slide layout:
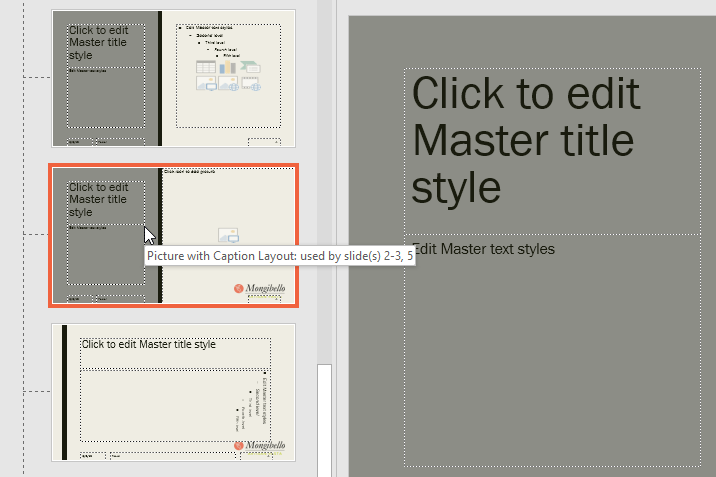
In our example, our newly added logo is hidden backside the photo in the Flick with Caption Layout. We'll customize this layout to make room for the logo.
- Navigate to Slide Master view.
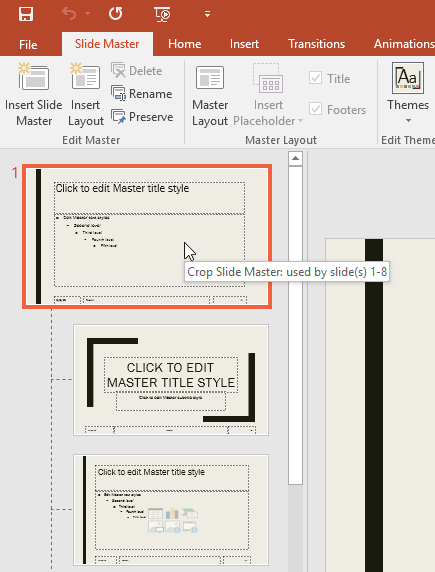
- Locate and select the desired layout in the left navigation pane. You can hover the mouse over each layout to run across which slides are currently using that layout in the presentation.
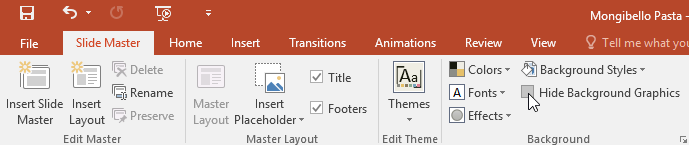
- In some layouts, the background graphics may be hidden. To show the graphics, uncheck the box next to Hide Background Graphics.
- Add, move, or delete whatsoever objects as desired. In our example, nosotros'll delete the gray background shape.
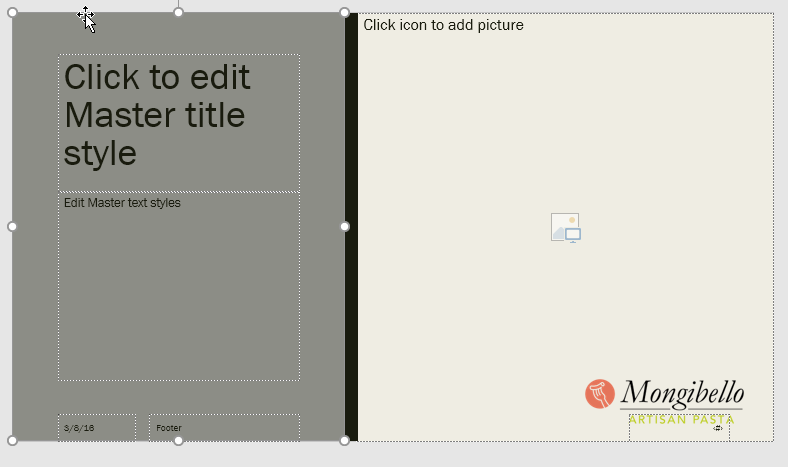
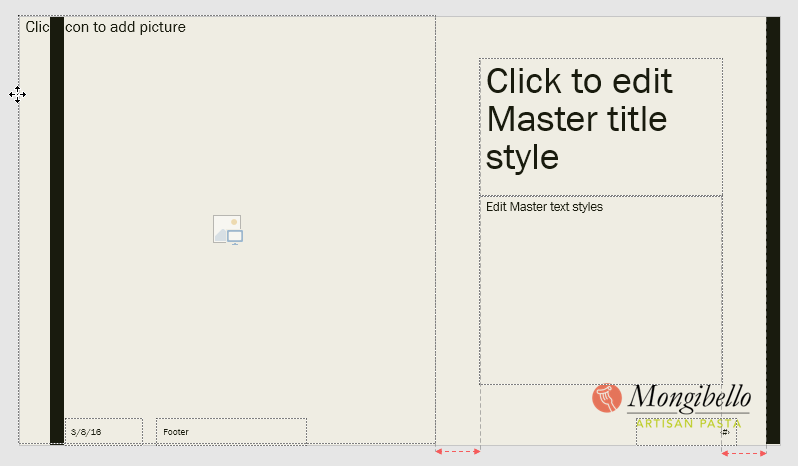
- If you desire to change the arrangement of the placeholders, y'all can movement, resize, or delete whatsoever of them. In our example, we'll movement our text placeholders and the blackness bar to the right side, and the photograph placeholder to the left side.
- When you're finished, click the Close Master View command on the Slide Chief tab.
- All slides using the layout will be updated.

You can as well move placeholders on the slide master, which will motility the placeholders on multiple slide layouts at the same time. Still, some slide layouts may still need to be adapted manually.
Customizing text formatting
You can also customize the text formatting from Slide Master view, including the font, text size, color, and alignment. For example, if you wanted to change the font for every championship placeholder in your presentation, you could modify the master title mode on the slide principal.
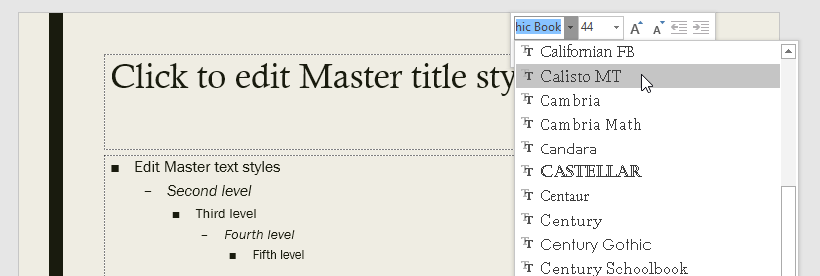
Each championship placeholder is connected to the principal title fashion on the slide master. For example, accept a await at the slides before changing the title font.

At present look at the same slides after irresolute the title font.

Instead of customizing individual placeholders, you can change the theme fonts for a presentation. From the Slide Chief tab, click the Fonts command in the Background group, so select the desired fonts.

Creating new slide layouts
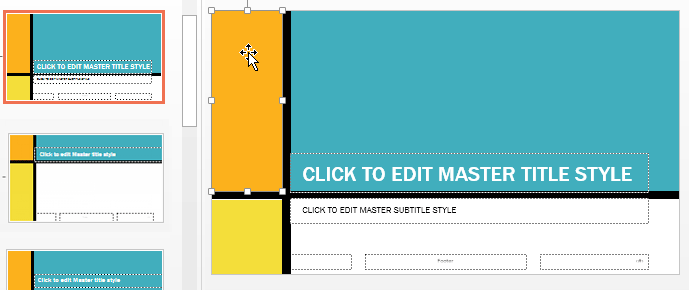
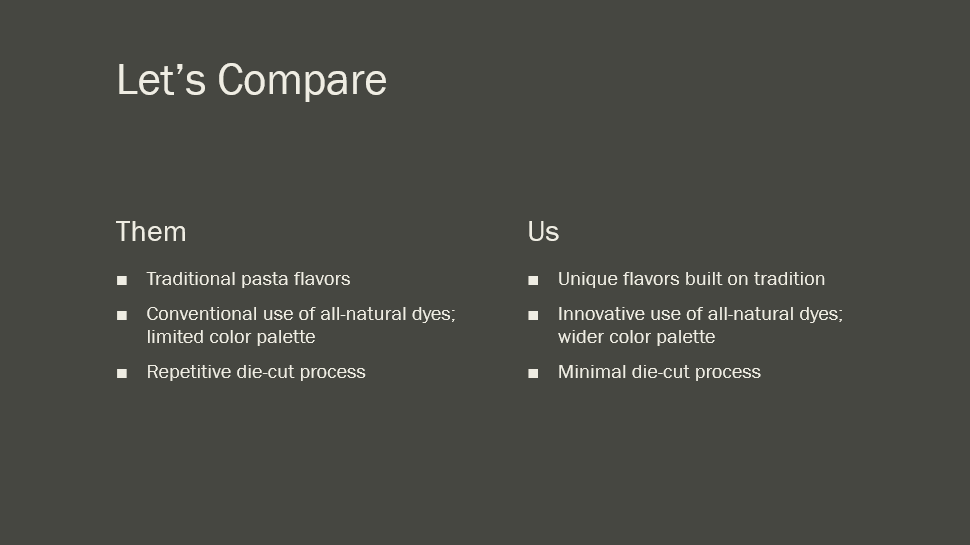
Ane of the most powerful features of Slide Principal view is the option to create new slide layouts. This is an easy way to add together interesting and unique slide layouts to an existing theme. You lot could even employ this feature to pattern an entirely new theme, as in the example below.
To insert a new slide layout:
- Navigate to Slide Master view. From the Slide Master tab, click the Insert Layout command.
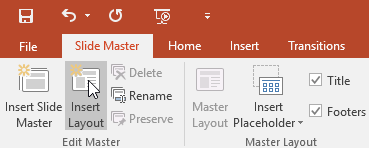
- The new slide layout volition appear.
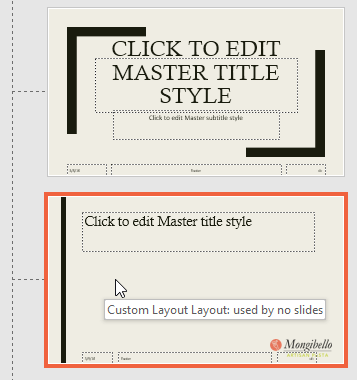
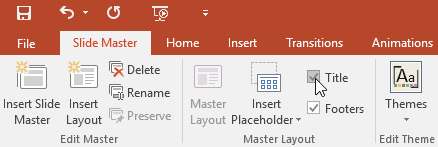
- The layout will include championship and footer placeholders by default. Click the Title and Footers boxes in the Master Layout group to toggle these placeholders on and off.
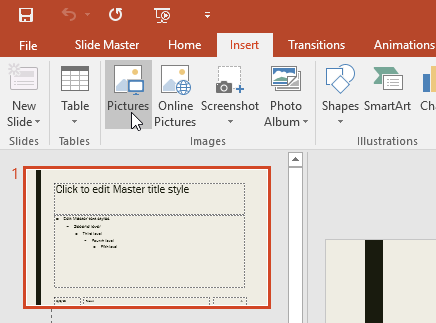
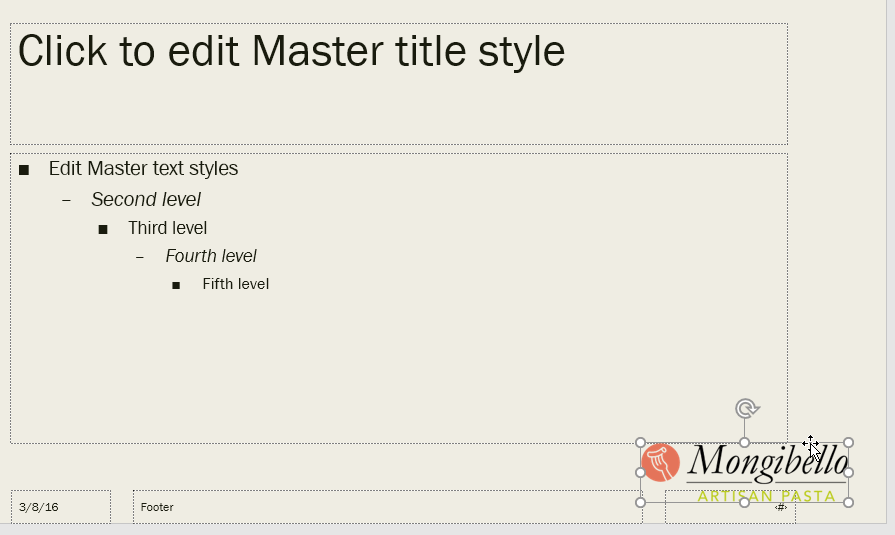
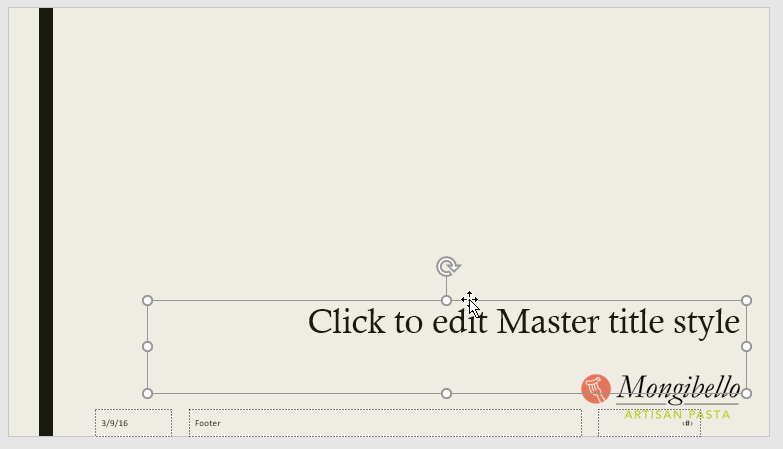
- You can now add background graphics, shapes, and pictures to the slide layout. You tin besides move, accommodate, and delete the existing placeholders. In our example, we'll move the title placeholder to the bottom-right corner. We've as well inverse the text alignment to marshal correct instead of align left.
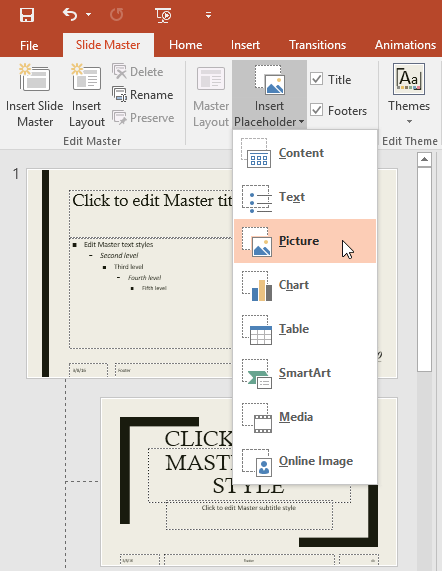
- To add new placeholders, click the bottom half of the Insert Placeholder control, then select the desired placeholder type. In this example, we'll use the Motion picture placeholder.
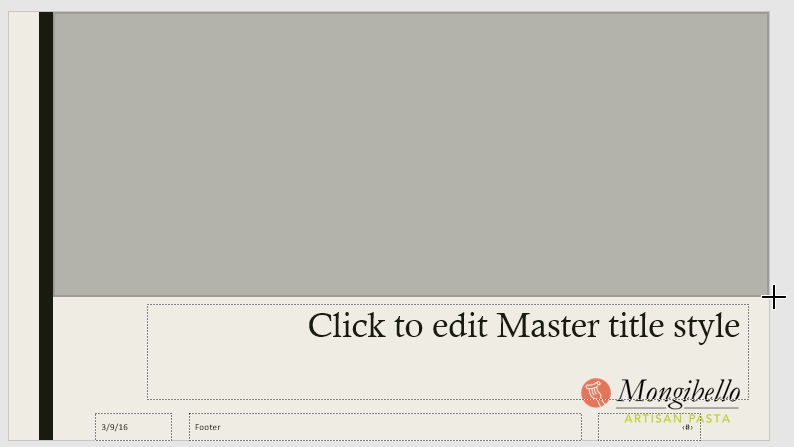
- Click and elevate to describe the placeholder on the slide.
To rename a custom layout:
When you're washed designing your custom layout, you lot'll want to give information technology a unique name then it will be easy to find.
- From Slide Master view, select the desired layout, then click the Rename command.

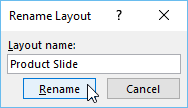
- A dialog box will appear. Type the desired name, and so click Rename.
To use a custom layout:
Once you've created a custom slide layout, information technology'due south like shooting fish in a barrel to add a new slide with that layout or apply it to an existing slide.
- If you're currently in Slide Master view, click the Shut Master View command on the Slide Master tab.
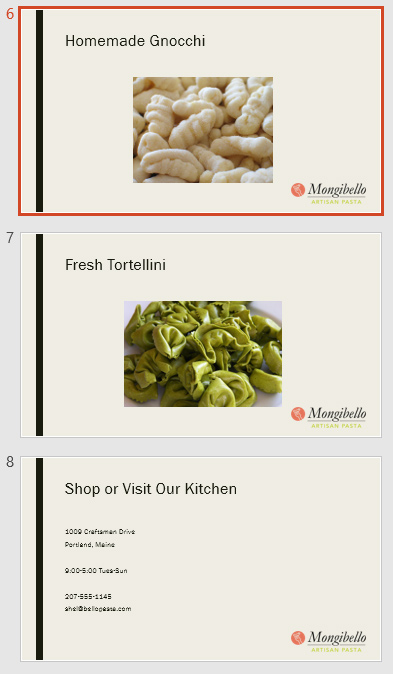
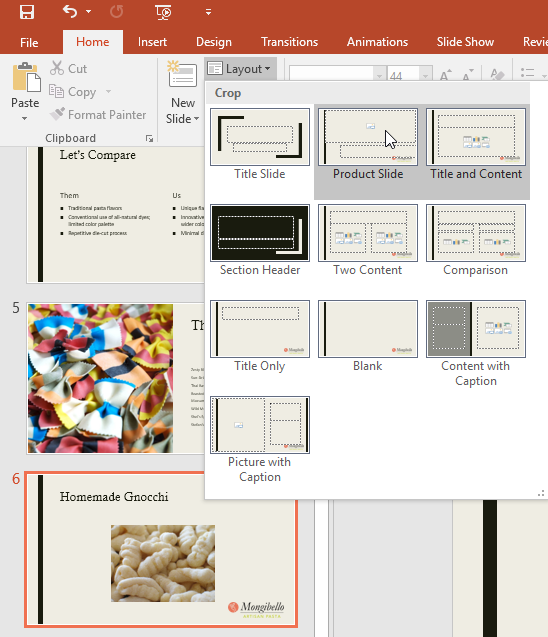
- From the Abode tab, you lot can insert a new slide with the custom layout or utilize it to an existing slide. In our example, nosotros'll select the Layout control and apply the new style to slide 6.
- The custom slide layout will be applied.

PowerPoint also allows you to add new placeholders to existing slide layouts.
Using custom layouts in other presentations
When you modify the slide main or slide layouts in Slide Chief view, you're actually creating a custom version of the current theme. If yous desire to utilise the theme to other presentations, yous'll need to salve it.
To save a theme:
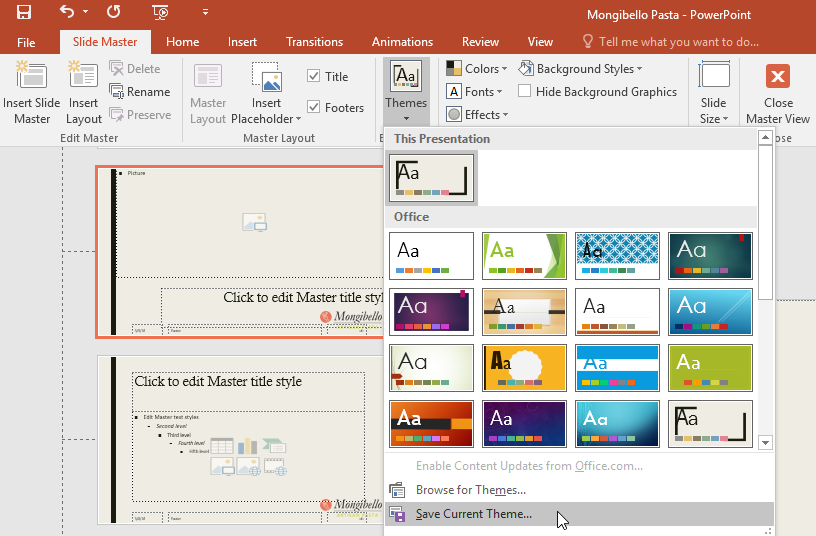
From the the Slide Principal tab, click the Themes command, and so select Salve Current Theme from the drib-downward menu.
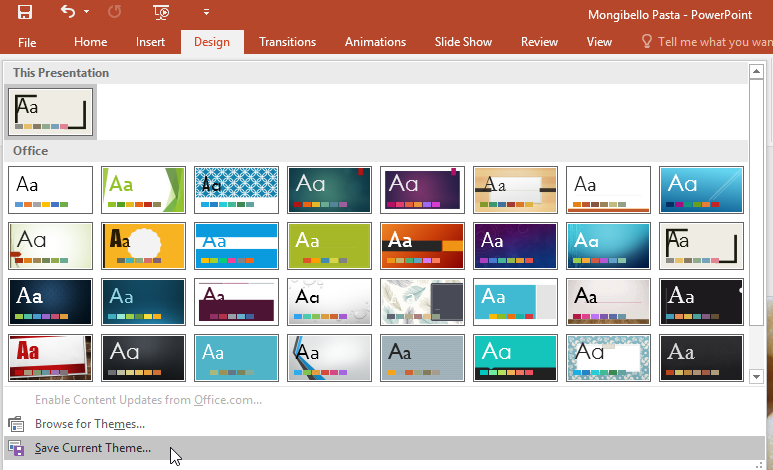
If y'all're not in Slide Master view, you tin can save the theme from the Blueprint tab. Just click the drib-down arrow in the Themes group, and then select Save Electric current Theme.
Challenge!
- Open our practise presentation. If you already downloaded our presentation to follow along with the lesson, be sure to download a fresh copy.
- On the slide principal, change the Background Way to Fashion 7.
- Delete the tall rectangular shape nearly the left of the slide master.
- Shut Slide Master view and select slide 4. Your slide should wait like this:
- Reopen Slide Master view. In the Flick with Caption layout, select the background shape on the left side of the slide behind the text,and change the color to Dark Aqua.
- When y'all're finished, slide 2 should look like this:

- Optional: Salve your theme to your calculator.
/en/powerpoint/links/content/
medinafarretionly.blogspot.com
Source: https://edu.gcfglobal.org/en/powerpoint/slide-master-view/1/
0 Response to "Read Slides Ch 5-7. Read Review Ppt Ch 4-7."
Post a Comment